The Ultimate Guide to Audio Amplification: Make Audio Louder Without Distortion
Table of Contents
Have you ever spent hours recording a masterpiece, only to export it and realize it’s whisper-quiet? Welcome to the ultimate guide on audio amplification. In this masterclass, we will cover exactly how to make audio louder without distortion.
Loudness is one of the most misunderstood concepts in audio engineering. Let’s break down the science of making things louder, safely.
Understanding Gain Staging
Gain staging is the process of managing the audio signal levels at every point in the signal path. If your audio is quiet, it means the gain was set too low at the source. This is common when using dynamic microphones without proper preamps.
Peak vs. RMS Loudness
To master audio amplification, you must understand the difference between Peak and RMS:
- Peak Level: The absolute loudest microscopic fraction of a second in the sound wave. (Usually a snare drum or hard consonant).
- RMS Level: The average power of the audio over time. This is how the human ear actually perceives “loudness”.
If you just turn up the volume knob, the Peak Level will hit the digital ceiling (0 dBFS) and shatter into distortion, even if the RMS (perceived loudness) is still quiet. We need to boost the RMS without blowing out the Peaks.
How to Use the Free Audio Amplifier
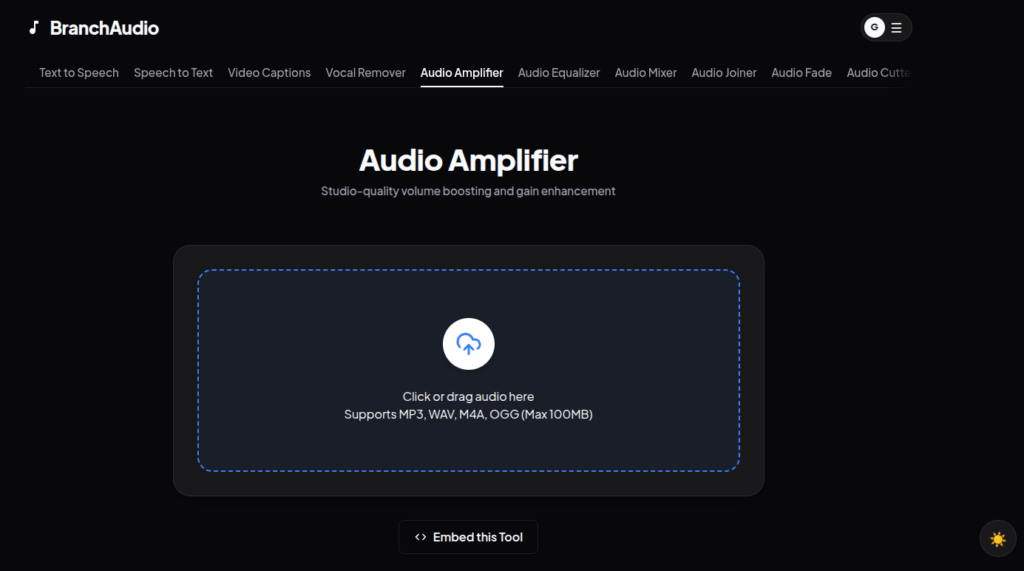
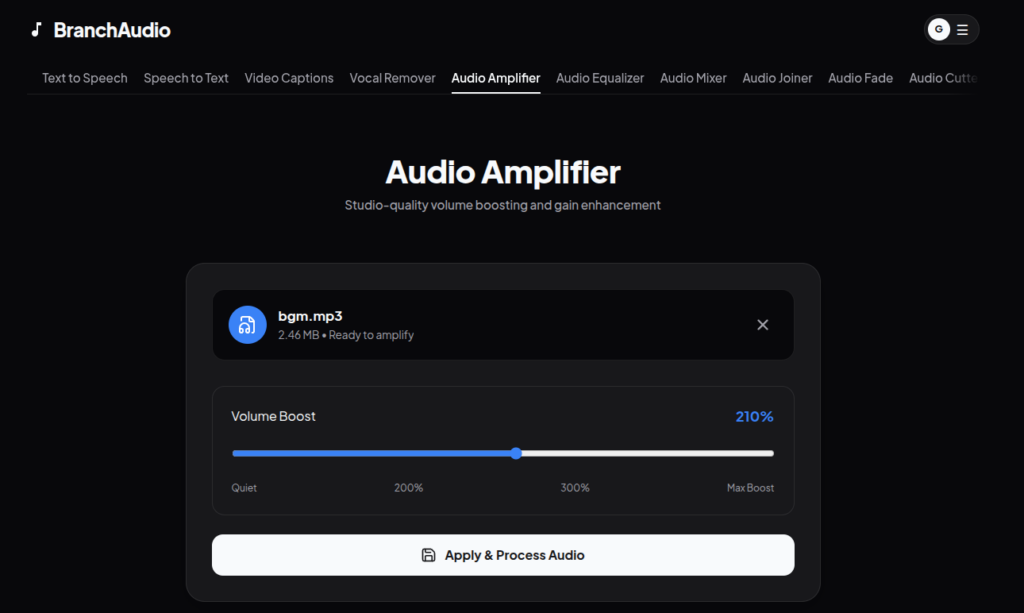
The BranchAudio Amplifier solves this by using intelligent algorithms to apply clean gain. Simply drag and drop your audio or video file, and use the slider to boost the volume by up to 400%. The system protects against brutal clipping.
The Dangers of “Normalizing” Audio vs Amplifying
Many beginners confuse “Audio Amplification” with “Audio Normalization.” While both techniques make your audio louder, they operate in fundamentally different ways. Normalization is a mathematical process where the software finds the absolute highest peak in your audio file and applies a fixed amount of digital gain to the entire file until that single peak hits exactly 0 dB (or a set target like -1 dB).
The problem with normalization is that it is entirely dependent on your loudest peak. If you have a 30-minute podcast where you speak quietly the entire time, but you accidentally dropped your microphone once (creating a massive transient spike), normalization will do absolutely nothing. It will see that the microphone drop is already at 0 dB, and it won’t boost your voice at all. True audio amplification, especially when paired with a limiter, allows you to push the overall volume of your voice up while safely suppressing those accidental loud peaks.
How Compression Differs from Amplification
If you are serious about audio engineering, you have likely heard of compression. An audio compressor reduces the dynamic range of a signal. It turns down the loudest parts of the audio, bringing them closer in volume to the quietest parts. By “squashing” the audio, you make the overall track more consistent.
However, compression inherently makes the audio quieter because you are turning down the peaks. This is why almost all compressors have a “Makeup Gain” knob. Once you compress the dynamic range, you must use audio amplification (makeup gain) to boost the entire consistent signal back up to a commercial loudness level.
Why You Should Never Amplify MP3 Files Repeatedly
When working with digital audio, the format you choose matters immensely. MP3 is a “lossy” format. This means that every time you save or export an MP3 file, the encoder throws away bits of data to compress the file size. If you take a quiet MP3 file, boost the volume, and export it as an MP3 again, you are degrading the audio quality. Doing this repeatedly will introduce metallic, robotic artifacts known as “compression artifacts.”
Whenever possible, you should perform your audio amplification on uncompressed “lossless” files like WAV or AIFF. Only export to MP3 as the very final step when you are ready to upload the file to the internet or send it to a client.
Best Practices for Preparing Audio for YouTube and Podcasts
Every major streaming platform has a specific target loudness. If your audio is too quiet, users will struggle to hear it. If it is too loud, the platform will automatically apply heavy compression to turn it down, ruining your dynamic range. Here are the targets you should aim for when applying audio amplification:
- YouTube: Target -14 LUFS. YouTube is notorious for crushing audio that exceeds this limit.
- Spotify & Apple Podcasts: Target -16 LUFS for stereo files, or -19 LUFS for mono files.
- Club/EDM Mixes: DJs often push their masters to -6 LUFS or even -4 LUFS for maximum impact on massive sound systems.
Using a visual loudness meter while applying gain will ensure you hit these targets perfectly without going over.
\n
Further Reading & Deep Dives
If you want to master specific aspects of audio volume boosting, check out our targeted guides below:
- How to Boost Podcast Volume for Spotify and Apple Podcasts
- How to Fix Quiet MP4 Audio Before Editing Your Videos
- Increase MP3 Volume Without Losing Quality: 3 Easy Steps
- What is Audio Clipping and How to Avoid It When Boosting Gain
Conclusion
Audio amplification is an essential skill for any modern creator. By understanding the tools and limits of digital audio, you can guarantee professional sound every single time.