How to Fix Quiet MP4 Audio Before Editing Your Videos
Table of Contents
Trying to fix quiet MP4 audio? There is nothing worse than recording a great video only to realize the microphone gain was set way too low. In this guide, you will learn exactly how to fix quiet MP4 audio quickly before you drop it into your timeline in Premiere Pro or Final Cut.
Many creators struggle with low audio levels. The key to solving this is using a high-quality amplifier that processes the waveform without simply raising the noise floor. When you fix quiet mp4 audio correctly, your audience won’t need to constantly adjust their speakers.
The Problem with Quiet Camera Audio
The first step is understanding why the original file is so quiet. Often, this is due to improper gain staging during the recording process. Microphones need preamps to boost the signal to “line level”. If the preamp gain is too low, the resulting digital file will barely register on the meters.
Furthermore, digital audio workstations (DAWs) default to leaving “headroom” to prevent clipping. But if you leave too much headroom, the entire file sounds muted. That is why it is so crucial to safely amplify the file after recording.
How to Fix Quiet MP4 Audio Instantly
When you attempt to make something louder, you have to be careful about peaks. A peak is the absolute loudest point in the audio file. If you apply a flat digital gain boost, those peaks will hit the 0dB digital ceiling and “clip” or distort.
Modern tools use intelligent peak detection and limiting algorithms to increase the perceived loudness (RMS or LUFS) without allowing the absolute peaks to cross the 0dB threshold. This guarantees clean, punchy audio.
The Truth About Camera Preamps
If you are trying to fix quiet MP4 audio, it helps to understand why it happens in the first place. Most consumer cameras, including high-end mirrorless options, have notoriously bad built-in microphone preamplifiers. If you plug a microphone directly into your camera and turn the internal gain up, you will introduce a massive amount of “hiss” or white noise.
To avoid this, many videographers intentionally turn the camera’s internal gain almost all the way down, resulting in an incredibly quiet audio file. This is standard practice in professional video editing workflows, but it means you must amplify the audio in post-production.
Why You Need a Dedicated Amplifier
When you fix quiet MP4 audio inside a standard video editor, you are often just applying digital gain. The problem is that video editors are not designed primarily for audio mastering. If there is a sudden loud noise in your video (like a door slamming), a simple volume boost will cause that peak to instantly clip, ruining the take.
By using a dedicated cloud-based volume booster, you leverage studio-grade limiting algorithms. These tools automatically detect the loud transients and suppress them, allowing the software to boost the perceived loudness of the voices to a commercial standard without ever causing distortion.
Using BranchAudio to Boost Gain Instantly
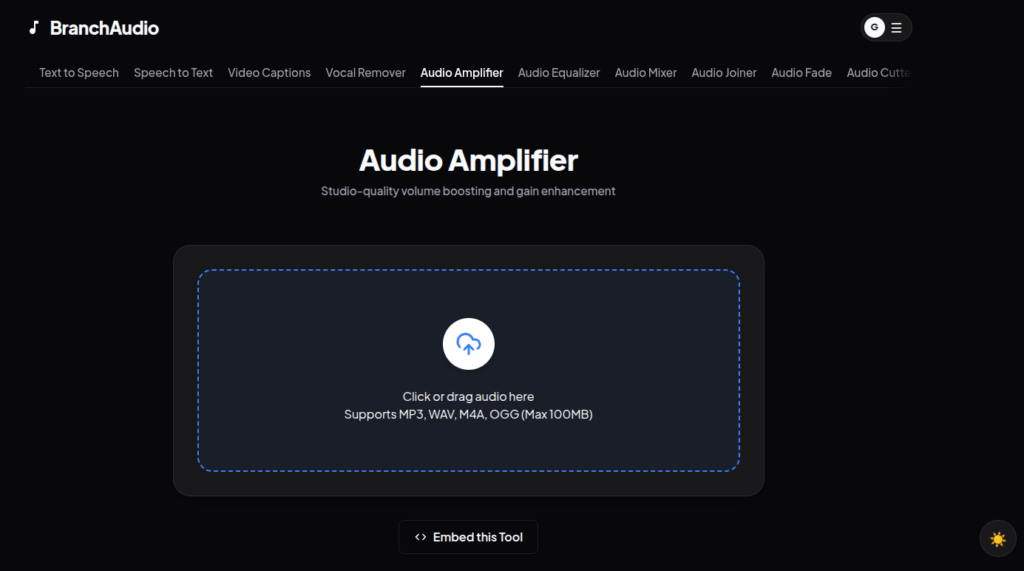
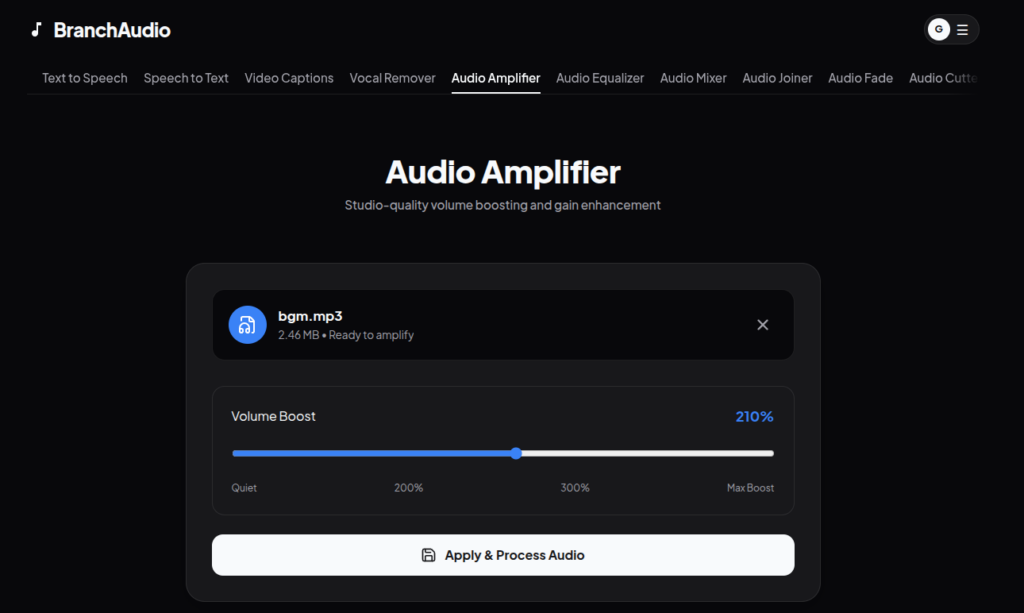
To safely increase the loudness of your file, navigate to the BranchAudio Amplifier tool. You simply drag and drop your file into the web browser.
- Upload: Drop your MP3, WAV, or MP4 file into the tool.
- Boost: Use the slider to increase the gain by up to 400%.
- Download: The cloud servers process the waveform instantly, giving you a perfectly amplified file ready for distribution.
Looking for a deeper dive? Check out our The Ultimate Guide to Audio Amplification: Make Audio Louder Without Distortion for a complete masterclass on audio engineering.
Conclusion
Stop settling for quiet, amateur-sounding audio. By using the right tools to boost your levels, you ensure your audience has a premium listening experience across all devices.